mounting & framing
In addition to treatment of your objects, we can also help with preservation and display. Frames not only provide an attractive enclosure for flat objects, but they also protect them on the wall. Having important items framed makes it easier to quickly retrieve them in case of a disaster like fire or flood, and it prevents damage from dust, light exposure (with UV glazing), and handling. We use high quality museum board and hinging techniques, conserve old frames and also make new ones from scratch.

Before treatment: mount burn around a crooked, oddly thin mount Client: Dr Johnson’s House

After treatment: acidic mount replaced with a conservation-grade buffered mount, with more appropriate proportions.
It is really important for the longterm stability of paper-based items like prints and drawings and photographs to have them properly mounted: attached to a backing board in a removable way that won’t cause damage, backing board and, if relevant, aperture/window mount made with stable, conservation-grade board, with the artwork spaced away from the glazing. Cheaper mount boards may be appealing based on price, but cause horrible discolouration that is difficult to impossible to remove in the future. If you’re not sure whether your current mount is good quality, look at the bevel in the aperture if you have one: if it is yellower than the surface of the mount board, as in the image above right, it is almost certainly acidic and damaging. Prints that come out of mounts like this typically have a halo of yellow-brown discolouration known as “mount burn” around the edge of this window.
case studies

dr johnson’s house
Round Robin
This letter has text on both sides (along with creases from having once been folded). It was originally framed by cutting a rectangular aperture on the back to show the text on the verso, then the letter was secured on all four sides to that board with pressure-sensitive tape. On the outward facing side, a circular mount was cut in acidic board—you can see the resulting discolouration from the mount and the tape in the first two images below. What’s worse, the back didn’t have any glazing, just a sheet of thin MDF with a slightly wider hole cut in it (3rd image), and the resulting exposure let the paper there get discoloured probably partly from pollution/acidity and partly from surface dirt—you can see this rectangle of discolouration in the 3rd image.


We removed the offending mounts and re-mounted it in conservation board, hinging it, along with a card with its provenance from the original mount, with Japanese kozo paper tabs and wheat starch paste. We fashioned a spacer in the back of the original frame and then fixed Perspex glazing on the back. We also added hinges, so that it could be mounted to the wall, and opened like a door to allow temporary access to the reverse.
We repaired the worst tear in the letter, but just enough to stabilise it. The tears and creases show how it was used as a letter and aren’t causing any threat to stability now that it is kept flat in the frame.


This was part of a large-scale conservation programme to treat dozens of Dr Johnson’s House’s prints and manuscripts and many of their original frames.
private client
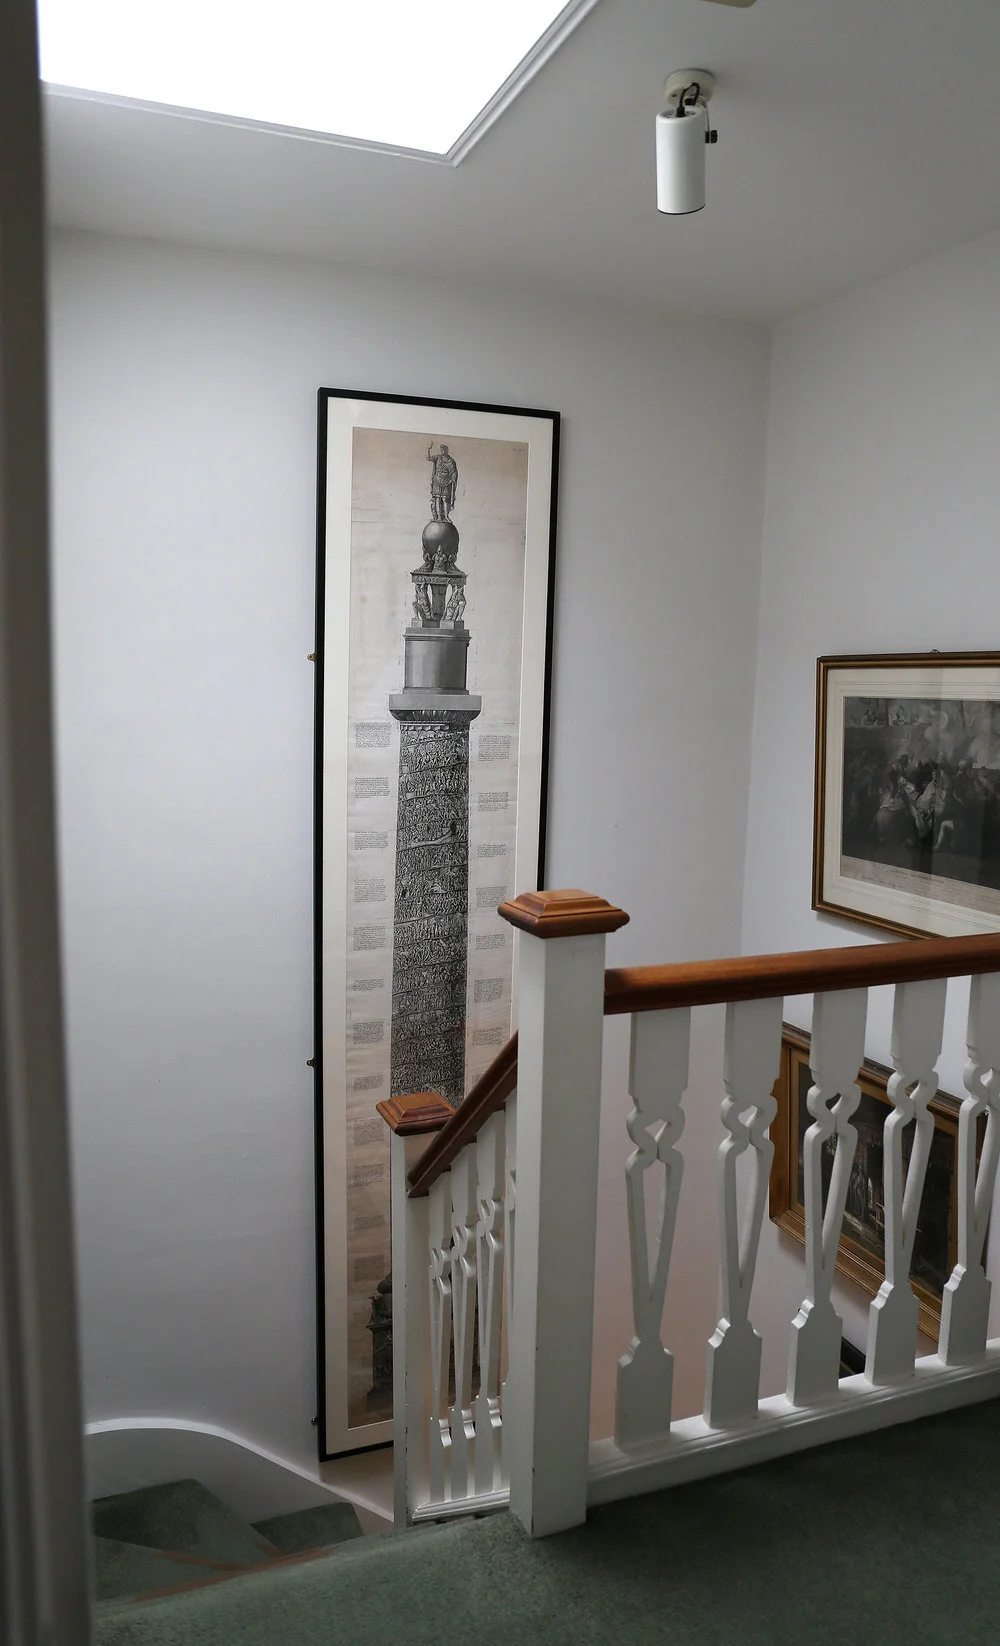
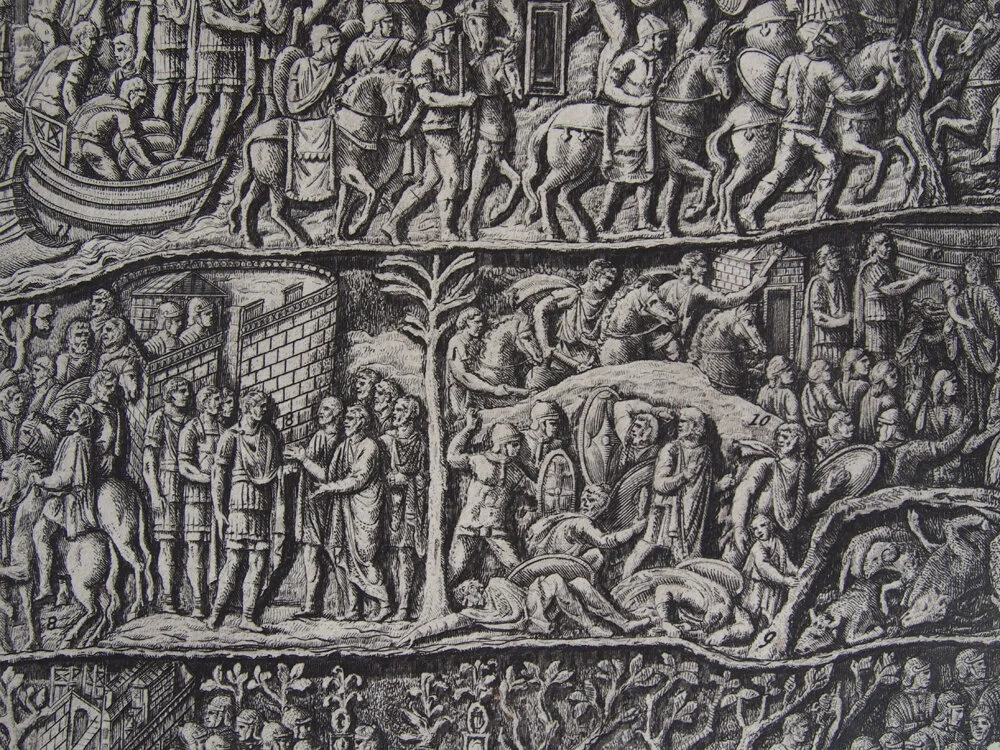
Piranesi’s Trajan Column
This copy of Piranesi’s View of the Principal Aspect of the Trajan Column is 3 metres (9 feet) tall, on thick handmade paper. It had been rolled in a drawer for 10 or 20 years, and perhaps rolled by a previous owner before that. There was evidence of a textile backing, in the form of glue marks, long gone, and stains that repeat themselves consistent with water damage that happens to a rolled object. It was so big that it didn’t fit rolled out in our studio, let alone on our table, so we devised a way of working on it while it was rolled—including wet treatment to reduce adhesive residue on the back.


You can read more about the treatment in detail on our blog, in part 1 here and part 2 here. After the print was cleaned and the tears repaired and losses filled, we built a frame for it. This was another challenge, and it only just barely could fit within the maximum dimensions of framing materials. A window mount was cut in several pieces and put together like a puzzle, to help hold down the edges of the print and obscure the worst of the damage.
Of course, once it was framed, we also couldn’t put it upright anywhere in the studio, so we didn’t get the full impression of the finished piece until we got these images back from the client!